This post may contain affiliate links, my full disclosure can be read here. As an Amazon Associate I earn from qualifying purchases.
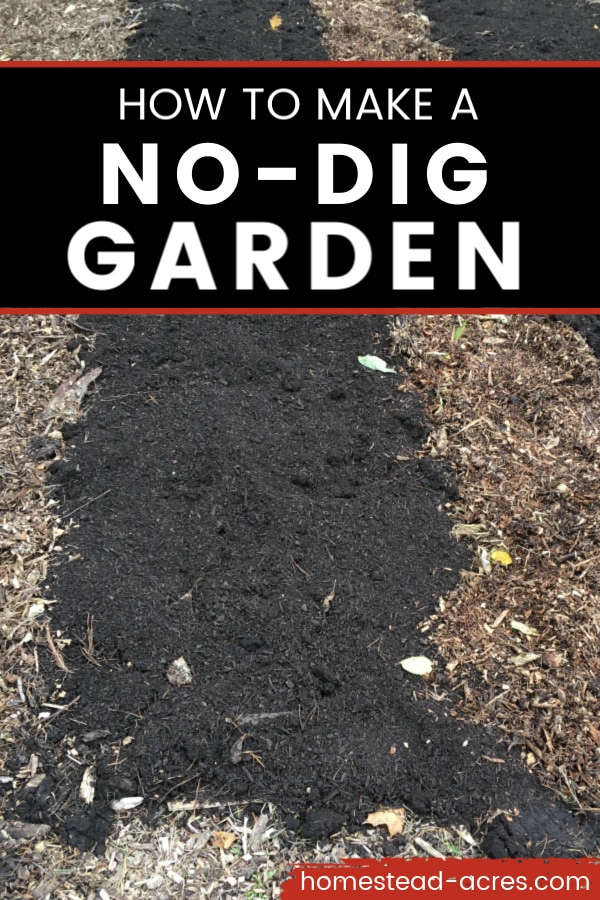
How to make no-dig garden beds the easy way. Even if you are a new gardener no-dig garden beds are the perfect way to get started making a garden.
No-dig gardens are really easy to make with cardboard or newspaper, compost, and mulch.
This easy method of gardening requires almost no tools and reduces the amount of care your garden needs over time.
Do you spend too much time weeding your garden?

What if you could build garden beds that helped you to reduce the weeds in your garden?
You can with no-dig gardening.
We gardened for years using traditional tilling methods and the weed cycle never seemed to stop.
Every time you till you are bringing more weed seeds to the surface that germinate quickly and cause you more work. As the season goes on the soil gets more compact making it harder to hand weed.
The work seemed to be never-ending.
Until we started using the Back to Eden gardening method. It’s a type of no-dig gardening that uses sheet composting of wood chips to reduce weeds and make a fertile garden base to grow in.
But that style of gardening really works best if you start it in the fall.
If you want to start a vegetable garden in the spring or summer you can adapt this idea easily by using compost in your planting area and keeping the mulch for the pathways.
How To Build A No-Dig Garden Bed
1. Mark Out The Location
After you’ve chosen the best location for your garden you’ll want to mark off the corner boundaries.
This will make it much easier to lay down the cardboard or newspapers and keep your garden shipped the way you want it to be.
The simplest way is to put wooden stakes on each corner and run a string line around the perimeter of your garden area.
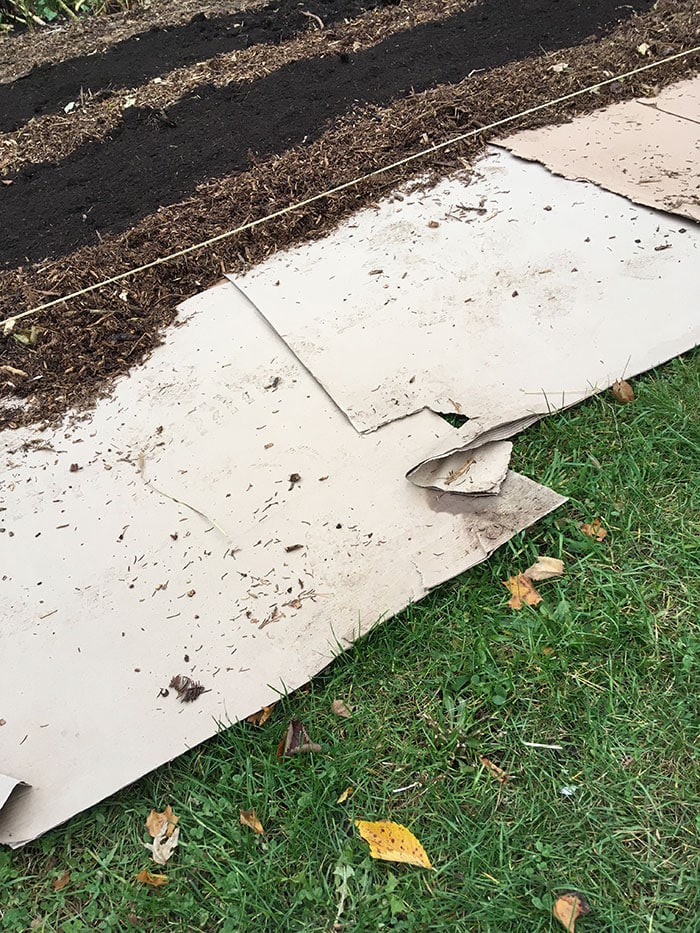
2. Lay Down Cardboard Or Newspaper
After you’ve marked out your garden it’s time to put down a barrier that will help to suppress weeds.
It needs to be a biodegradable material since it will be under your garden. Both cardboard and newspaper are good choices.
Newspaper has an advantage of forming to the shape of the ground very well.
This eliminates air pockets that can allow weeds to continue growing. It also breaks down quickly allowing for your plants root systems to move into the soil below.
The disadvantage to newspaper is that it does let weeds through easier than cardboard if the compost and mulch layers above it aren’t deep enough.
If you decide to use newspaper as your weed smothering layer then placing it 2 layers thick will give you an extra boost of weed protection.
Cardboard is thicker and easier to work within the garden, especially if you can get large boxes from office or appliance stores.
It doesn’t form to the ground as well and can create air pockets that will let weeds grow under the cardboard for a while. So you need to make sure that the layers above it are deep enough to help prevent weeds from coming through.
Both options work well, pick the material that is easiest for you to find locally, and work with.
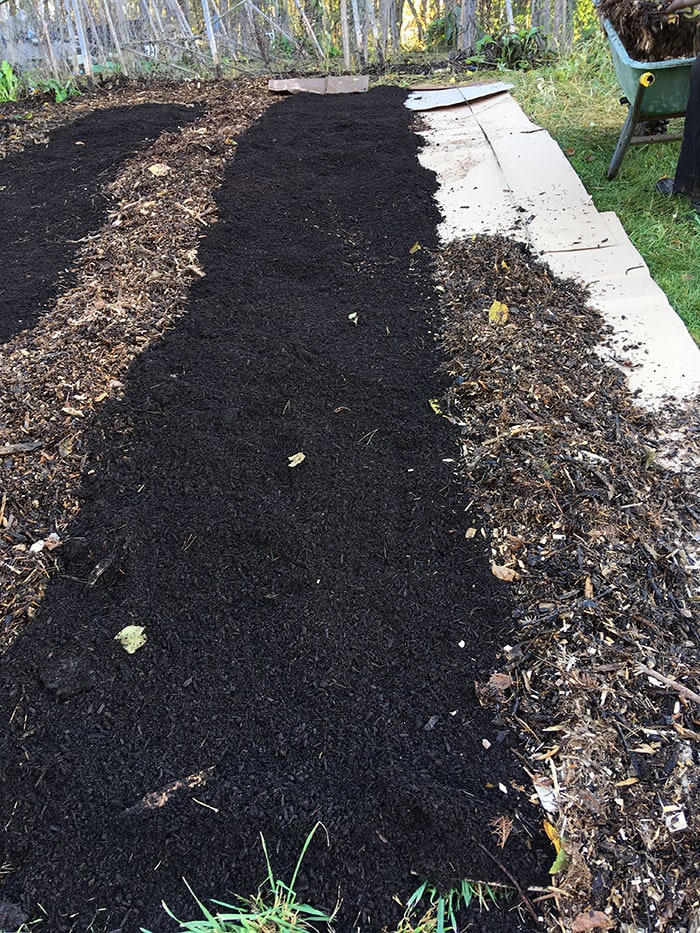
3. Mark The Garden Beds

Once your garden is covered with either newspaper or cardboard you’ll want to mark out where your planting beds and pathways are going to be.
Run 2 string lines in your garden to mark each planting area. Good widths to use are 3 to 4 feet (0.9 to 1.2 m). You want to make sure that you can easily reach the center from either side of the bed for weeding and harvesting.
4. Add Compost
Next, fill the planting areas you’ve marked off with good quality compost.
For the best results, you will want to make this layer very deep. Using 6 to 8 inches (15.24 to 20.32 cm) of compost works well but you can go deeper if you have lots on hand.
The deeper you make this layer of compost the harder it will be for weeds to grow up through the cardboard or newspaper and survive to reach the surface.
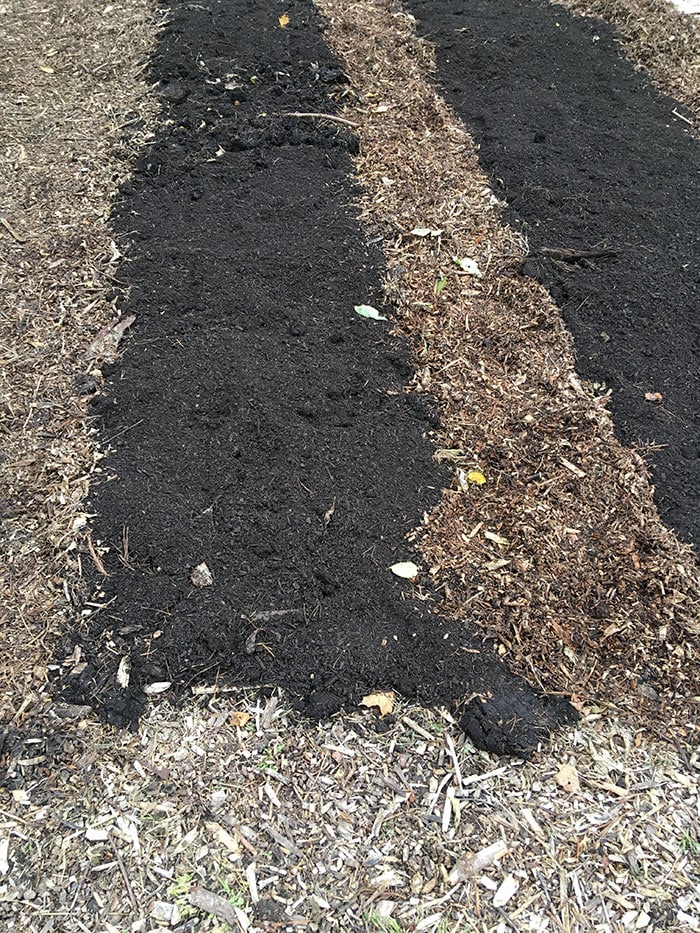
5. Add Mulch

In between the planting beds fill the pathways with your favorite mulch.
Wood chips are a great option as they last a long time, help to hold water and turn into wonderful compost that helps to feed your garden.
But if you don’t have easy access to tree mulch then use straw or shredded leaves.
If you want some extra weed protection you can also add mulch on top of the compost. This will help to retain soil moisture too and reduce the amount you have to water.

Why Does This Help With Weeds?
There are many reasons that making garden beds like this help to lower the number of weeds in your garden.
When your soil is disturbed by tilling you are bringing many weed seeds to the surface. As soon as the ground is broken nature wants to start healing it by growing more plants to recover the soil.
Instead of disturbing the soil system build it up instead by fast-tracking the natural way that soil is built-in nature with layers of composting material.
Adding a layer of newspaper or cardboard helps to smother out the weeds in your garden or lawn. It blocks the plants from getting sunlight and eventually they die and then compost into your soil.
The few weeds that manage to grow through the paper layer will struggle to reach the surface, as long as you made the compost layer deep enough.
It is very important to keep on the weeding so that weeds don’t become reestablished in your garden.
When we make garden beds this way it reduces the weeding needed by 80 to 90% in the first year compared to our other gardens.
It is most effective with annual weeds. If you have persistent perennial weeds like crabgrass or bindweed it will take more work to get rid of them. But a deep no-dig garden will really help to set them back.
Connect With Homestead Acres!
Be sure to follow me on social media, so you never miss a post!
Facebook | Twitter | Pinterest | Twitter
Visit my Amazon store to find all my favorite gardening, homesteading tools, and gadgets plus all of my printed garden books and journals!


Kim Mills is a homeschooling mom of 6 and lives on an urban homestead in Ontario, Canada. Blogging at Homestead Acres she enjoys sharing tips to help you save money, grow and preserve your own food.
Vego Garden
Wednesday 25th of May 2022
I liked your work and, as a result, the manner you presented this content about raised planters box.It is a valuable paper for us. Thank you for sharing this blog with us.
Jacque Upshaw
Wednesday 20th of April 2022
Thank you so much for sharing your wisdom with us. I'm new at this and find your information so very helpful. So grateful!
Kenny Canard
Saturday 24th of October 2020
Kim I like your info. I'm 67 years old & I can't do as much as I used to. My garden is 100 feet X 100 feet. I purchase a large load of chicken manure every fall & till it under. I use newspaper & cardboard plus the black weed barrier 3'X 100' every spring with about 25-30 wheat straw bales. When I take up the black weed barrier in the fall & add the chicken manure again, I till it all under again. The Soil Conservation Office tested my soil & was surprised. It didn't need anything. But I'm needing to slow down & not work as hard so I might try your method next spring. Thanks for the tip. I also have Raspberries, blackberries, cherries, apples, peaches, & muscadines. So as you can see, I do need to downsize or manage better.
Annette
Sunday 21st of June 2020
I often think I'm a bit odd with my gardening, I don't mind the weeds. I use them to feed my rabbits so I find them very useful. :)