
How To Can Green Beans
This post may contain affiliate links, my full disclosure can be read here. As an Amazon Associate I earn from qualifying purchases.


Learn how to can green beans quickly and easily. Step by step tips to help you preserve lots of green beans without a lot of work.
I always grow lots of green and yellow beans in my garden, they are one of my favorite vegetables. Easy to grow and so many ways to enjoy them from garlic green beans to casseroles.
Whether you are growing green beans in your garden or found a great deal at your local farmers market canning beans is a great way to preserve them to enjoy year round.
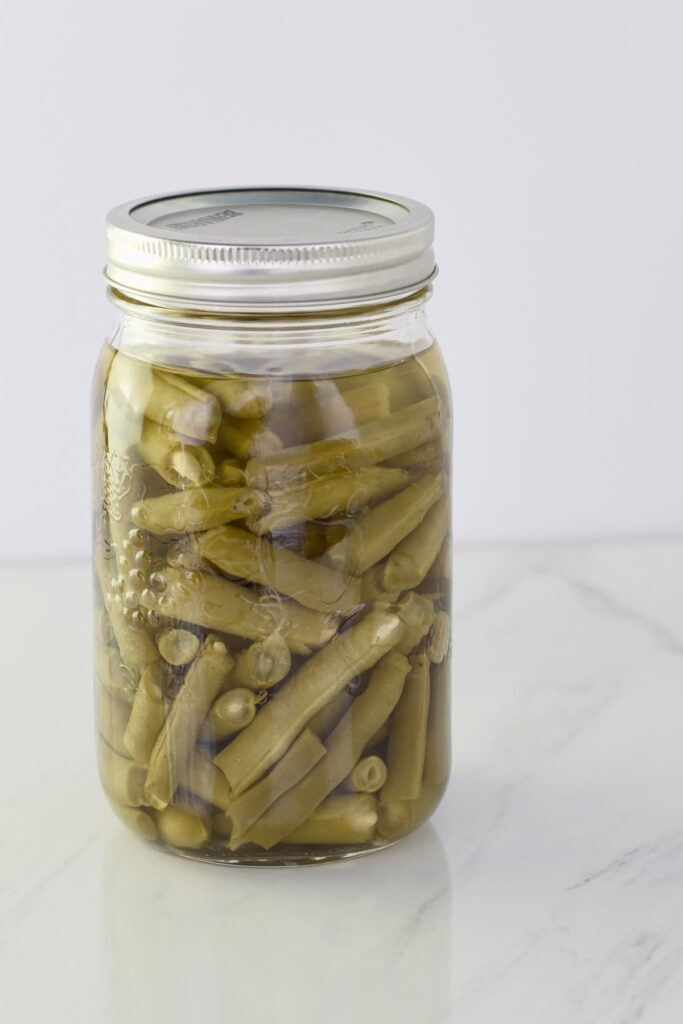
Ingredient Notes
Green beans – You’ll want to use fresh green beans the sooner you preserve them after harvesting the better. You can also use yellow beans or even purple beans! You will need 1 pound per pint jar and 2 pounds per quart jar.
Canning salt – Make sure to use canning salt or pickling not table salt. Table salt contains iodine and it can change the color and taste of your canning. If you are trying to reduce salt you can leave it out but salt does help to preserve the flavor of the beans.

How To Can Green Beans
When you are canning green beans you have two options the raw pack method and the hot pack method.
Raw packing is always my favorite way to preserve beans because it’s so fast. You simply prepare the beans fill the jars and can them. While the hot pack method has you blanch the beans before canning.
The benefit of hot packing is you can fit a little more beans in each jar and have fewer floating beans.
Supplies
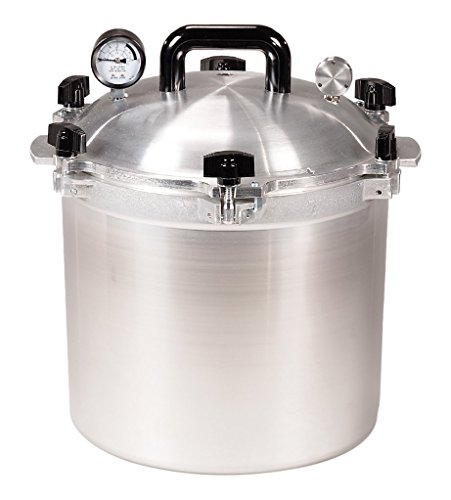
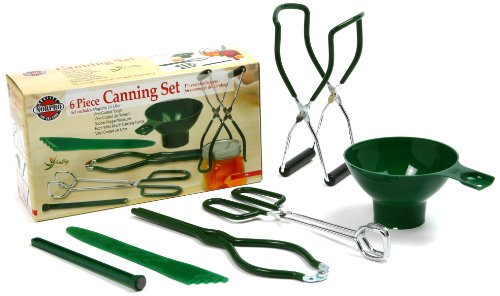
All American 21-1/2-Quart Pressure Cooker Canner Norpro Canning Essentials Boxed Set, 6 Piece Set
Canning Green Beans Cold Pack
1. Wash, String, and Cut The Beans
Wash your beans well in cold water and drain. If your beans are not a stringless variety then you will need to string or snap the beans before cutting them. After the beans have been stringed cut or break them into sections 2 inches long.
2. Fill The Jars

Once your beans have been stringed and cut pack them into canning jars tightly, leaving 1 inch of headroom.
3. Add Salt
Adding salt to your home canned beans is optional but I really recommend doing it. Adding salt when canning beans really helps to preserve the flavour of the beans after processing.
Add 1/2 tsp. of salt per pint jar and 1 tsp. of salt per quart jar.
4. Cover With Boiling Water
Pour boiling water into the canning jars until the beans are covered leaving 1 inch of headspace.
5. Remove Air Bubbles & Add Lids
After you have added the boiling water to the jars take a plastic knife, spatula or canning spatula and run it around the inside edge of the canning jar to remove any air bubbles.
Wipe the edges of the jar clean and add the lids finger tight.
6. Pressure Can Your Green Beans
When all of your jars of beans are ready, place them into the pressure canner and process them at 10 pounds pressure, 20 minutes for pints, and 25 minutes for quart jars. Remember to adjust the weight to your altitude.
When the jars are finished processing allow the canner to fully decompress before removing the lid and jars. This step is very important!
7. Remove The Jars To Cool & Seal

Once the canner has fully cooled, take the lid off and remove the jars. Place them on a towel in a draft-free place.
Leave the jars to sit undisturbed for 24 hours.
You will start to hear “ping” sounds as the lids snap down to seal. After 24 hours gently press the lids down with your finger. If they are sealed they will be pressed down firmly. If they are not sealed they will pop up and down.
Any jars that haven’t sealed need to be reprocessed or placed in the fridge to use right away.
I personally wouldn’t recommend reprocessing green beans because they would get very mushy.
The jars that have sealed well, remove the jar rings and wipe the jars down. Label them and place them into your pantry storage.
Canning Green Beans Hot Pack
1. Wash, String, & Cut Beans
Wash and drain the beans well. Then remove the strings and cut them into 2 inch long sections.
2. Cook
Place the beans into a pot and cover with water. Bring them to a boil and boil them for 5 minutes.
3. Fill The Jars
Ladle the beans into the jars filling them loosely leaving 1 inch of headspace.
4. Salt
Add 1/2 tsp. of salt to each pint jar and 1 tsp. of salt to each quart jar. The salt is optional but really helps to improve the taste and color.
5. Add Liquid
Ladle the leftover liquid from cooking the beans into the jars leaving 1 inch of headspace. If you don’t have enough liquid you can also use boiling water. But using the cooking liquid will improve the taste of your canned beans.
Remove the air bubbles, and add the lids to the jars following the processing directions that are given above for cold packed beans.
Pressure Canning Times
Hot or Raw Pints for 20 minutes – 0-1,000 ft 10lb pressure, over 1,000 ft 15 lb pressure.
Hot or Raw Quarts for 25 minutes – 0-1,000 ft 10 lb pressure, over 1,000 ft 15 lb pressure.
What Are The Best Green Beans For Canning?
There are so many different types of green beans that you can grow, some are best for fresh eating, others for freezing but you want to make sure you have the best varieties for canning. Green beans come in 2 basic types bush beans and pole beans.
My favourite bush bean varieties for canning are Tendergreen, Jade, Strike, Provider, and Bush Blue Lake. These have always produced good yields of beans in our home garden.
Varieties of pole beans that I like to grow for canning are Blue Lake Pole, Kentucky Wonder, and Kentucky Blue.
How Many Green Beans Do I Need For Canning?
On average you need 1 pound of green beans per pint jar and 2 pounds of green beans per quart jar that you want to can.
How Long Can You Keep Green Beans Before Canning?
It’s always best to can the beans as soon as possible after picking but sometimes it just isn’t possible. If life is getting busy for you or you are waiting for your plants to produce enough beans to make a batch you can store fresh beans in the fridge for a while.
Place the unwashed beans into a plastic bag and tie it shut, removing as much air as possible, and place the beans into the fridge. They will keep for up to 7 days in good condition this way.
Why Are My Canned Green Beans Mushy?
It’s so frustrating to put all that work into canning and then not have the final product turn out the way you would like it to. If you find that your home canned green beans are mushy after caning these tips could help.
Don’t Over Process
You definitely don’t want to reduce the amount of time you are presser canning your green beans but make sure you are not canning them longer than necessary also.
The canning times for green beans from the USDA are 20 minutes for pints and 25 minutes for quart jars. Canning beans for times longer then this is unnecessary and can cause them to go mushy.
Use The Cold Pack Method
Using the cold pack method of canning green beans always gives me firmer canned beans. Since with the hot pack method you are precooking the beans for an extra 5 minutes before adding them to the jars. It can make a big difference in how the beans turn out.
Use The Right Type Of Green Beans
Some types of green beans are best for fresh eating but don’t do well when they are frozen or canned. Try growing the varieties listed above that I’ve had great luck with canning before.
You can also check with local garden groups to find varieties that grow well in your area and are good for canning.
Cloudy Canned Green Beans – Why Do My Canned Green Beans Look Like This?
After canning your green beans you may notice the liquid in the jars starts to take on a cloudy white look. There are 3 things that can cause this to happen.
- Beans contain starch and the more mature the beans are the more starch they have. This starch comes out into the cooking water as the beans are being canned. It gives them a cloudy white look.
- Using table salt instead of canning salt can also make your beans look cloudy. Table salt contains ingredients to keep it from stick together. These can leach into the water giving it a cloudy look.
- Hard water can also contain minerals that can change the color of the liquid your food is canned in.
However, if you have any doubts about the safety of your canned beans it’s always better to toss them out than to risk getting sick.
How To Can Beans
Ingredients
- 14 pounds Green Beans
- 7 tsp. Canning Salt
- Water
Instructions
- Wash your beans, destring and remove the ends than cut into 2-inch sections.
- Pack the beans into jars leaving 1 inch of headspace.
- Add 1/2 tsp. of salt to each pint jar or 1 tsp. of salt per quart jar.
- Fill the jars with boiling water leaving 1 inch of headspace.
- Remove air bubbles from the jars by running a plastic spatula around the inside edge of the jar.
- Wipe the rims of the jars clean and place the lids on finger tight.
- Process the jars in a pressure canner, pints for 20 minutes, quarts for 25 minutes at 10 pounds of pressure or adjusted to your altitude.
- Remove the jars from the canner and place on a towel. Allow them to sit for 24 hours for the seal to set.
- Then remove the jar rings, wipe the jars clean and place into storage.
Notes
These values are from a nutritional database and automatically calculated, and should only be used as an approximation.


Connect With Homestead Acres!
Be sure to follow me on social media, so you never miss a post!
Facebook | Twitter | Pinterest | Instagram
Visit my Amazon store to find all my favorite gardening, homesteading tools, and gadgets plus all of my printed garden books and journals!

Kim Mills is a homeschooling mom of 6 and lives on an urban homestead in Ontario, Canada. Blogging at Homestead Acres she enjoys sharing tips to help you save money, grow and preserve your own food.



Kim, can you water bath green bean
s?
Can you can green beans in a steam canner?
I don’t own a pressure canner. I do bottle pickles, etc by placing the prepared bottles in a large pot of boiling water. We live a sea level.For how long would I have to boil my prepared bean bottles?