This post may contain affiliate links, my full disclosure can be read here. As an Amazon Associate I earn from qualifying purchases.
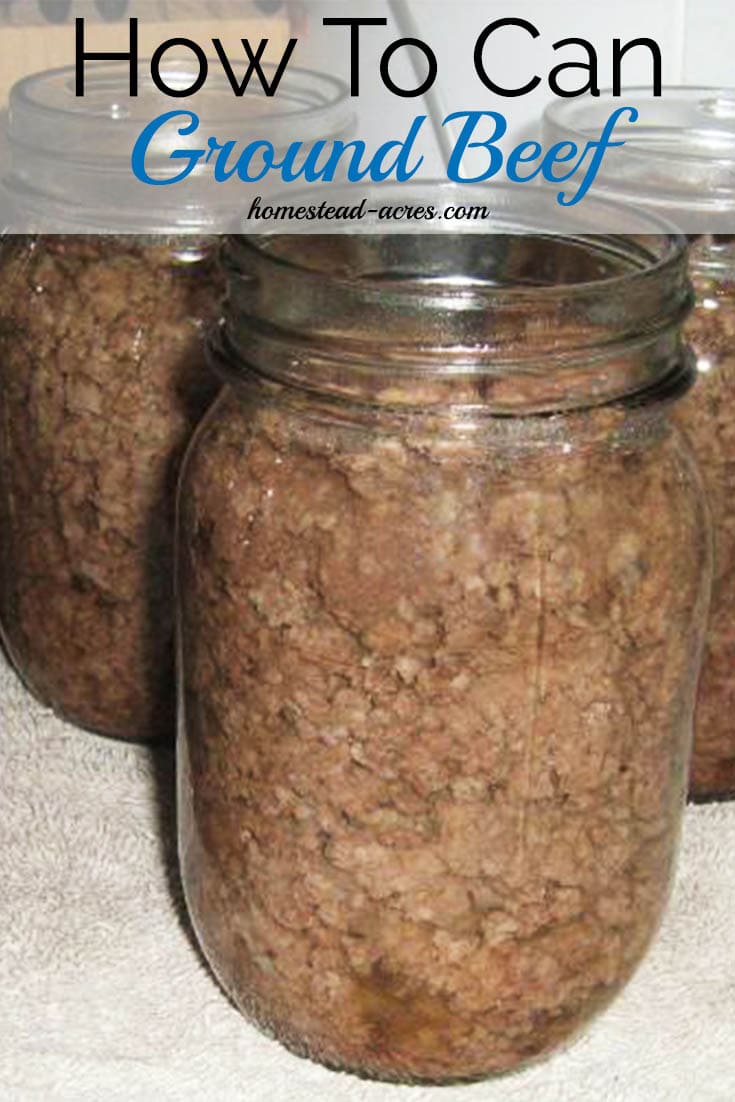
Are you wondering how to can ground beef or why you should? Canning ground beef is so easy to do and very convenient to keep on hand!

[toc]
Yes, I know that ground beef is easy to freeze but, I prefer to keep canned meat on hand rather than frozen for a few very good reasons.
Why Keep Canned Ground Beef On Hand
While freezing ground beef is convenient in the short term because you can just toss the package you bought into the freezer without preparing it. I’m always forgetting to pull it out of the freezer the day before or in the morning for supper.
I know that I can cook it from frozen but then the meat on the outside cooks faster than the center as it frying. You end up with some meat over cooked before the rest is ready.
Canned Ground Beef Is More Convenient
Canned ground beef is always ready to use, no waiting for the frozen meat to thaw out! Just open a jar and your meat is ready to use. It’s already pre-cooked you just need to heat it up.
Canned ground beef also keeps longer than frozen, and it never gets freezer burned!
Have you ever had your freezer lose power? More than once I’ve had someone accidentally unplug my freezer with disastrous results. A long power outage from storms would have the same results.
I can count at least 4 times in the past 17 years that we have lost hundreds of dollars in food because a freezer was left unplugged, a storm or blackout took the power out, or the freezer broke down and started thawing without us knowing.
Canning Ground Beef In Large Batches The Easy Way
As much as I love canning my own ground beef I was getting tired of browning it in small batches for canning. We are a large family and I often buy my ground beef in large bulk packages.
A few years ago, I found an easier way to cook bulk packages of ground beef before canning. Instead of pan frying it in small batches, then having to drain and rinse the fat off I started boiling it. I can place large amounts of ground beef in my stock pot and let it simmer until it’s cooked the way I want it.
The Benefits Of Boiling Ground Beef Before Canning
Boiling the ground beef has some benefits over browning it by frying.
Boiling the meat saves me time. Instead of browning the ground beef in small batches I can use a large stock pot and cook 10 pounds or more all at the same time.
Grease doesn’t splatter all over my stove top so it makes clean up after a bulk cooking session quick and easy.
Boiling the ground beef removes most of the fat from the meat. This is very important when canning because you want as little fat as possible in the canning jar. If you have too much fat in your meat there is a greater chance of it getting between the jar and lid causing the seal to fail.
One of the best advantages is a nice large pot of soup stock! After boiling the ground beef, I strain the broth and set it in the fridge to cool overnight. The next day skim the fat off the top. You can now season the broth however you like.
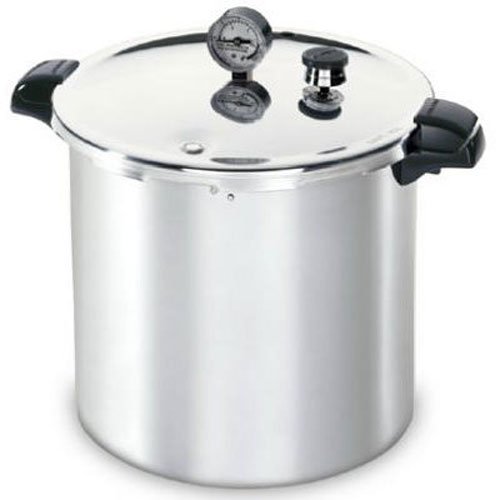
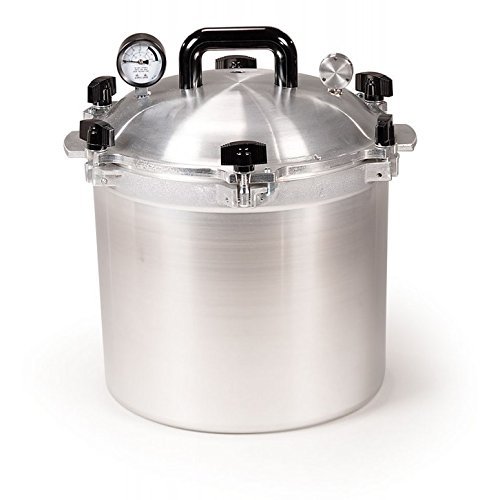
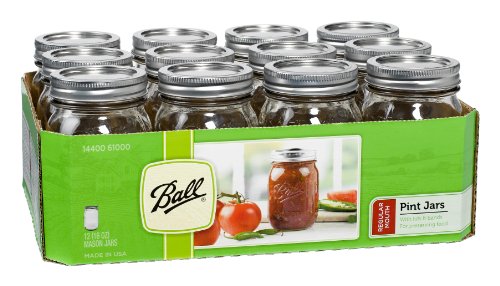
Supplies For Canning Ground Beef
- Pressure canner
- Large stock pot
- Pint size canning jars
- Jar lifter
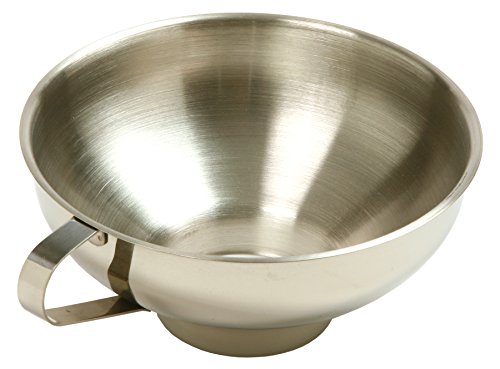
- Canning funnel
- Spatula
- Strainer
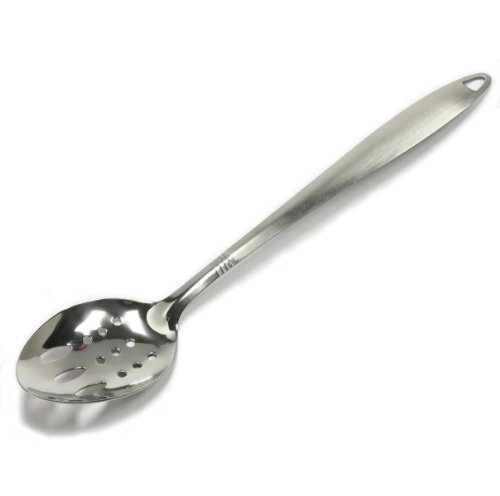
- Slotted spoon
- Towel
- Ground beef
- Salt
- Water
- Beef stock (optional)
Presto 23-Quart Pressure Canner All American 21-1/2-Quart Pressure CookerBall Jar 1pt Ball Mason Jars, Case of 12Ball Bubble Remover & Head Space ToolNorpro Stainless Steel Wide-Mouth FunnelStainless Steel Slotted Spoon
&
Water bath canning isn’t safe for canning meat you need to use a pressure canner. Amazon has great prices on pressure canners and canning supplies.
Don’t Miss My Step by Step Video On Canning Ground Beef
How To Can Ground Beef
Cooking Your Meat
Ok, it’s time to get started! Your first step is to cook your meat. You can brown the ground beef in a skillet, cook it on trays in the oven or use my favourite way of boiling the meat.


Place your ground beef into a large stock pot and add enough water to cover the meat. Bring your meat to a boil then turn the heat down and simmer until your meat is cooked the way you like it.
Drain the ground beef and save the stock. You can save this for soup the next day after skimming the fat off.
Filling Your Canning Jars


Using a slotted spoon fill your canning jars with ground beef leaving 1 inch of headspace. If you’re using salt for flavouring you can add 1 tsp. per pint jar or 2 tsp. per quart jar now. 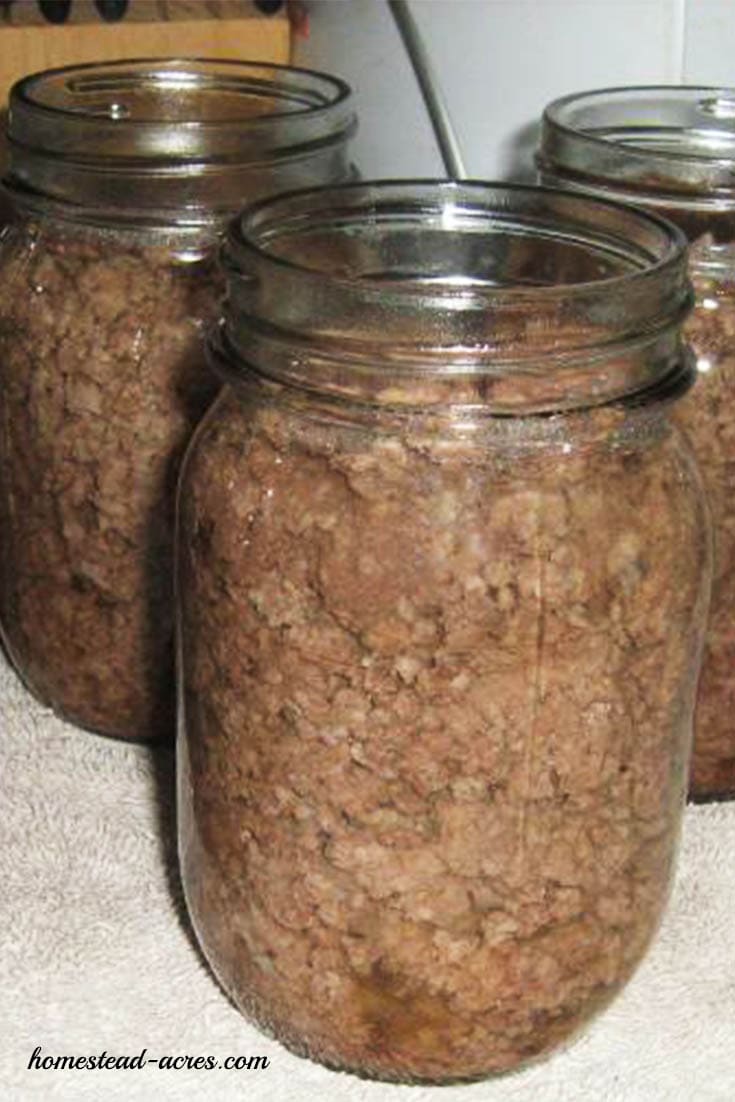
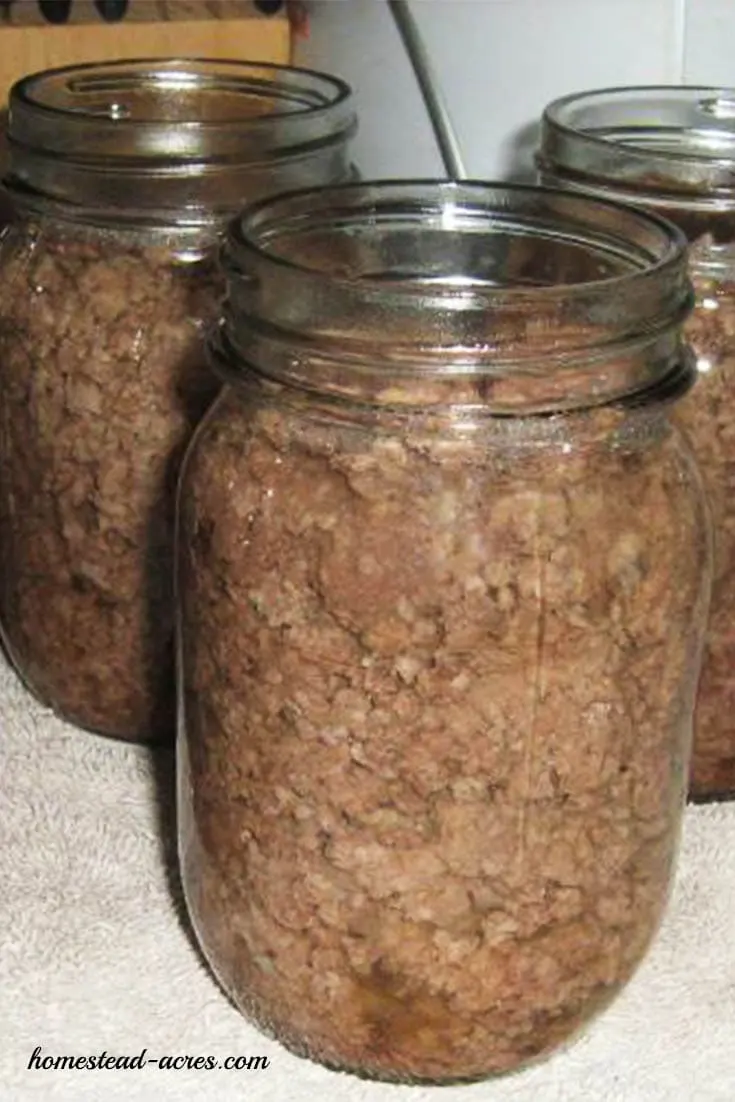
Then fill the jars with boiling water, beef broth, or tomato juice remembering to leave 1 inch of headspace again.
Personally, I think that beef broth gives a much better flavour to your meat over water.
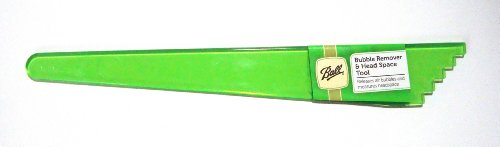
Remove Air Bubbles & Clean Jars
Ball Bubble Remover & Head Space Tool
Keeping everything clean when you’re canning is very important and helps you to have a successful canning session.
After your jars have been filled with meat run a spatula around the inside edge of the jar to remove any air bubbles.
These canning bubble removers are such a hand tool to have! You can use them to quickly remove the air bubbles in a jar and measure the headspace to make sure you’ve left the right amount.
Wipe the rims of the jars clean to remove any grease. I like to use a paper towel with a little vinegar on it as I find it does a great job of cleaning the rims.
Place the lids and screw rings on finger tight, making sure not to overtighten them or the jars won’t be able to seal properly.
&
Getting Your Pressure Canner Ready
- Check your gasket and make sure it’s in good shape.
- Make sure the vent pipe is clear.
- Place 1 1/2 to 3 inches of water in your canner according to your pressure canners manual.
- Place the canning rack in the bottom of the canner.
Putting Your Ground Beef Jars In The Pressure Canner
Make sure that you’ve placed your canning rack in the bottom of your canner the correct way. You want the lip facing down so that the rack is raised off the bottom of the pan.
Never place the jars on the bottom of the pressure canner directly they will break.
If you are canning 2 layers of jars at the same time make sure to place a second rack between the layers and distribute the top layer evenly so the weight is balanced on the jars below.
Put Your Pressure Canner Lid On
Place your pressure canner lid on so the guides line up and turn it until the lid locks into place. If your lid attaches in a different way make sure to follow your own instruction manual.
Exhaust Your Canner For 10 Minutes
After you’ve placed your lid on the canner, turn the stove burner up to high. Once the water starts to boil and steam is steadily escaping from the vent pipe start timing for 10 minutes.
Setting Your Canner Weight
When your canner is done venting it’s time to set the weight.
The weight you use will depend on your altitude. If you’re using a weighted gauge pressure canner the USDA guidelines are:
- 0-1000 feet 10 lb
- above 1000 feet 15 lb
Building Canner Pressure
Start Timing
After you’ve placed the weight on your canner you need to watch the weight regulator. Once it begins to sputter and jiggle it’s time to set your timer.
- Pint jars are processed for 75 minutes
- Quart jars are processed for 90 minutes
Adjusting Canner Pressure
Reduce the heat and adjust until the weight is jiggling 1 to 4 times a minute. On my stove, this is between 3 to 4.
Keep your pressure steady if for any reason your canner starts to lose pressure you will have to bring the temperature back up and start the timer over again.
Turn Off The Heat
Once your timer has gone off turn the heat off and allow your pressure canner to cool on it’s own.
Do not remove the weight, move the canner or try to cool it under a tap. Doing so will reduce the pressure to quickly and can cause liquid to be sucked out of the jars and/or the jars breaking.
How To Tell When The Canner Has Depressurised
Never try to remove the lid of your canner before the pressure has returned to 0.
Let your pressure canner sit until the weight has stopped jiggling and the canner is no longer making any hissing sounds. I let my canner sit for 10 minutes past this time than using an oven mitt I remove the weight. Unlocking the lid lift it up facing away from your face to protect yourself from the hot steam.
Using a handy jar lifter remove your jars of ground beef from the canner and place them on a towel. As the jars seal you will hear the lids start to make a popping sound and will see that they are pressed down. This shows you that the jars have sealed.
Let the jars sit for 24 hours without disturbing them. If a jar does not seal place it in the fridge to use right away or reprocess within 24 hours.
After 24 hours remove the screw bands from the jars. Wipe the jars down and label them before storing in a cool. dark, dry place.
Looking for more canning recipes? Click here to see all of my canning recipes.
Canning Ground Beef Printable Recipe

How To Can Ground Beef
Ingredients
- 1 pound per pint Ground Beef
- Water
- Beef broth optional
- 1 tsp. Salt per pint optional
Instructions
- Place your ground beef into a large stock pot and add enough water to cover the meat. Bring your meat to a boil then turn the heat down and simmer until your meat is cooked at least half done.
- Drain the ground beef and save the stock if desired.
- Fill your canning jars with ground beef leaving 1 inch of headspace.
- If desired add salt 1 tsp. per pint jar or 2 tsp. per quart jar.
- Fill the jars with boiling water, beef broth, or tomato juice remembering to leave 1 inch of headspace.
- Use a spatula to remove air bubbles from the jars, wipe the lids clean and place lids and rings on finger tight.
- Place jars in the pressure canner and process pints for 75 minutes and quarts for 90 minutes.
- Use 10 pounds pressure for altitudes up to 1,000 feet and 15 pounds for over 1,000 feet.
Nutrition information isn't always accurate, this information is for informational purposes only please consult a nutritionist for more information and guidance.


Kim Mills is a homeschooling mom of 6 and lives on an urban homestead in Ontario, Canada. Blogging at Homestead Acres she enjoys sharing tips to help you save money, grow and preserve your own food.
Dove
Tuesday 14th of November 2023
I noticed the water didn't cover the jars in the pressure cooker.
Kim
Thursday 21st of December 2023
You only cover the jars with water when you are water bath canning. Pressure canning uses steam and uses much less water.
Daddio7
Wednesday 16th of August 2023
Wireless freezer alarm from Amazon, will save your bacon.
Natalie
Thursday 10th of August 2023
I have a bunch of quarts and pints I did using this method and I really don't like the mealy texture. I think the only way I can think to use it is to add it to fresh browned ground beef in recipes. I love pressure canning raw chicken and beef cubes, but I don't think I'll be doing this again. Trying to think of recipes where I can use this where the texture doesn't matter.
Sally
Wednesday 19th of July 2023
Can you can the hamburger broth you boiled it in
Sally
Wednesday 19th of July 2023
@Sally,
Anna
Tuesday 11th of July 2023
Great instructions! I did this yesterday, and like others, I had leakage from 1 jar, although it is sealed. I will use that one today, to see whether we like the texture of the ground beef - it seems much more crumbled than when I brown raw grind in a skillet. My jars have a rim of fat at the top. Is this ok? Next time, I think I will boil the beef, put the whole mess in the fridge overnight, then take off the fat that rises to the top. Then I'll reboil it and jar it all together. That way I won't need to "add" broth. And hopefully the fat won't be there.