How To Can Cherries (Easy Step By Step Guide)
This post may contain affiliate links, my full disclosure can be read here. As an Amazon Associate I earn from qualifying purchases.


Learn how to can sweet or sour cherries with these step by step tips. Preserve the fresh taste for baking and enjoy year-round.
Local fresh cherries are only available for a few weeks in the summer. This is the perfect time to stock up on sweet or sour cherries and put them up for using in baking through out the year.
Canning cherry pie filling is one of my favorite ways to preserve cherries but I also love to have lots of cherries canned in syrup on hand. They are perfect for adding to baked desserts or enjoying as snacks.

Supplies
Cherry pitter – While you can cut the cherries and remove the pits by hand using a cherry pitter saves so much time and work!
Canning jars and lids – You will need quart or pint jars and lids. I like to can some in both sizes so I can easily open the jar size that I need later.
Water bath canner – Cherries are a high acid fruit so there is no need for a pressure canner, all you need is a water bath canner or steam canner to preserve your cherries. If you don’t have a water bath canner any pot that is deep enough to hold 1 to 2 inches of water above the jars will work. Just place a rack on the bottom so the jars don’t touch the bottom of the pot.
Jar lifter – Canning jar lifters are so helpful for taking jars in and out of the hot water.
Canning funnel – Optional but so helpful is a good canning funnel. These have wide openings that fit inside the jar making it easier to add food without spilling it and getting the jars dirty.
Ingredient Notes
Please see the recipe card for full ingredients and amounts.
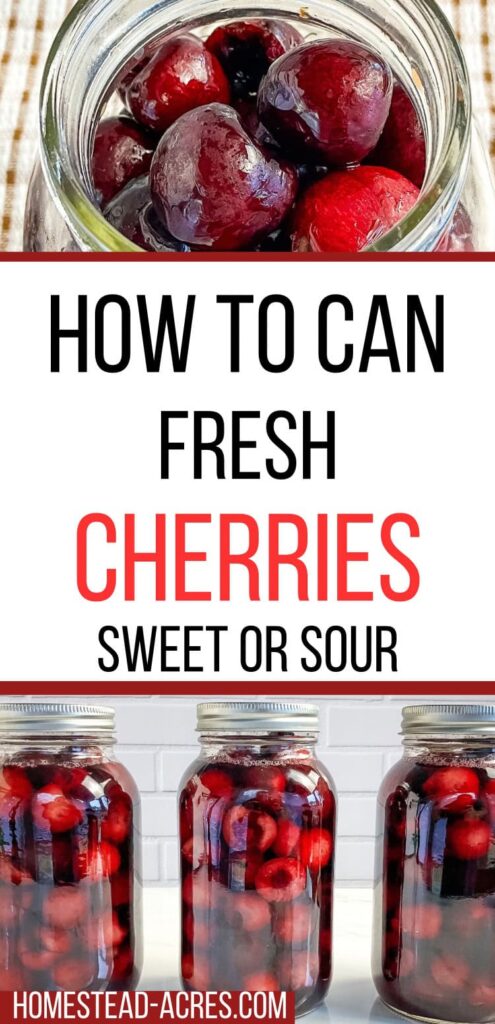
Cherries – You can use sour or sweet cherries. You will need about 17 1/2 pounds of cherries for 7 quart jars, or 11 pounds for 9 pint jars.
Sugar – When canning fruit sugar is optional so if you’re trying to reduce sugar in your diet you can leave it out. But sugar does help to preserve the color and flavor of the fruit. Even a light syrup can make a big difference to the taste.
Water, Juice, or Syrup – You can use a sugar syrup, plain water, or fruit juice to can cherries. Medium syrup is best for sweet cherries, if canning sour cherries an heavy syrup works better.
Apple juice and white grape juice are two tasty options if you want to try something different then a simple sugar syrup.
Hot Pack VS Raw Pack
When canning cherries there are two different ways you can do it, hot pack or raw pack.
Hot Pack
Hot pack method means that you boil the cherries, sugar, and water together In a large saucepan before ladling them into jars. This can help to prevent the fruit from floating in the jars.
The step by step process below is for raw packed cherries but it’s easily adapted to hot packing. Simply combine the cherries, sugar, and water in a pot and bring it to a boil then continue from the filling the jars step.
Raw Pack
Raw packing means you fill the jars with prepared cherries and then cover them with hot syrup, juice, or water. Sometimes you can have fruit that floats to the top of the jars but I haven’t found it to be a problem. I prefer to raw pack cherries because I find it much faster and they taste great!
Syrup Mixtures For Canning
If you want to can cherries in syrup and prefer to make it on it’s own instead of mixing it in the jars decide how strong of a syrup you want to use and bring it to a boil while you prepare your cherries.
- Very Light Syrup – 1 1/4 cups sugar to 10 1/2 cups water.
- Light Syrup – 2 1/4 cups sugar to 9 cups water.
- Medium Syrup – 3 3/4 cups sugar to 8 1/4 cups water.
- Heavy Syrup – 5 1/4 cups sugar to 7 3/4 cups water.
How To Can Cherries
Wash Your Cherries
Whether you’ve bought cherries from the store or picked them fresh from your garden you’ll want to give them a good wash before canning.
Pull the stems off the cherries then give them a wash. I like to soak them in cool water with some vinegar for about 15 minutes. Remove any damaged or mushy fruit. Then give the cherries a good rinse.
Pitt
While you can, process cherries whole without pitting I prefer to pit them before canning. It makes using the cherries so much easier later.
I use this cherry pitter and find it works great to quickly remove the pits from the cherries.
Place cherries into an ansorbic acid or lemon juice mixture to keep them from discoloring while you work on pitting the rest of the cherries.
Fill Jars And Add Syrup
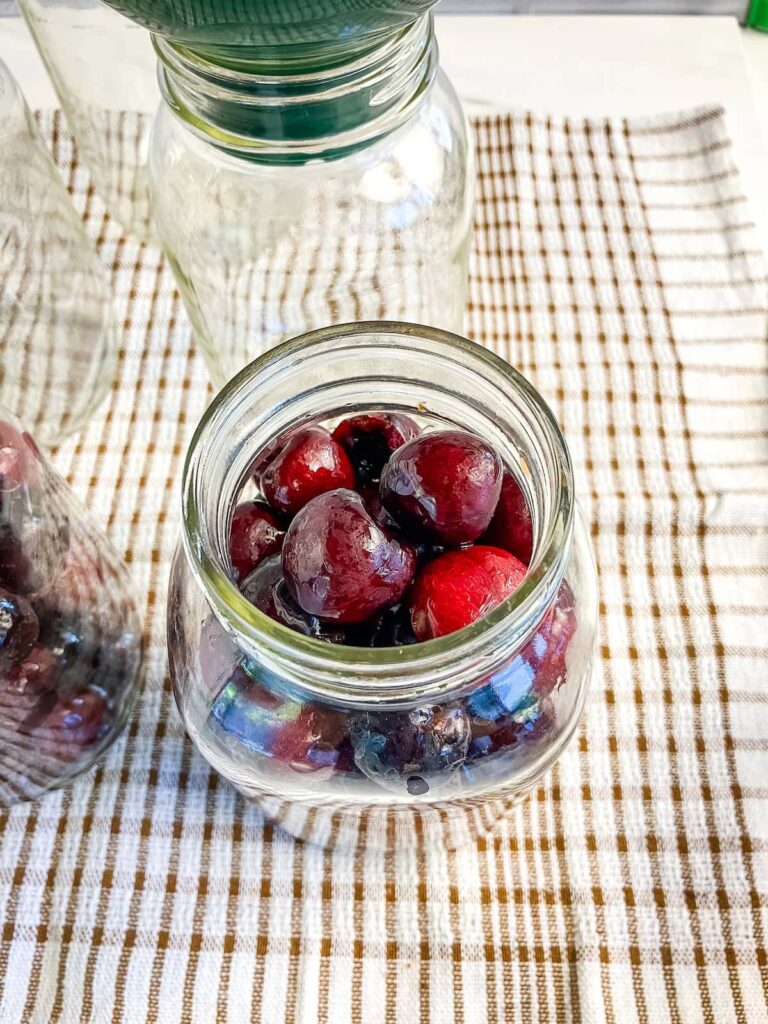
Next, fill your hot jars with cherries. When the jar looks full give it a gentle tap on the bottom to help settle the berries. You can likely fit a few more inside I like to pack the jars well but not to the point of smooshing the cherries.
Add Liquid
Now you need to decide if you want to can cherries in water, juice or in syrup. Both ways work and since cherries are a high acid fruit adding sugar is optional.
But sugar does help to preserve the color and flavor of the fruit.
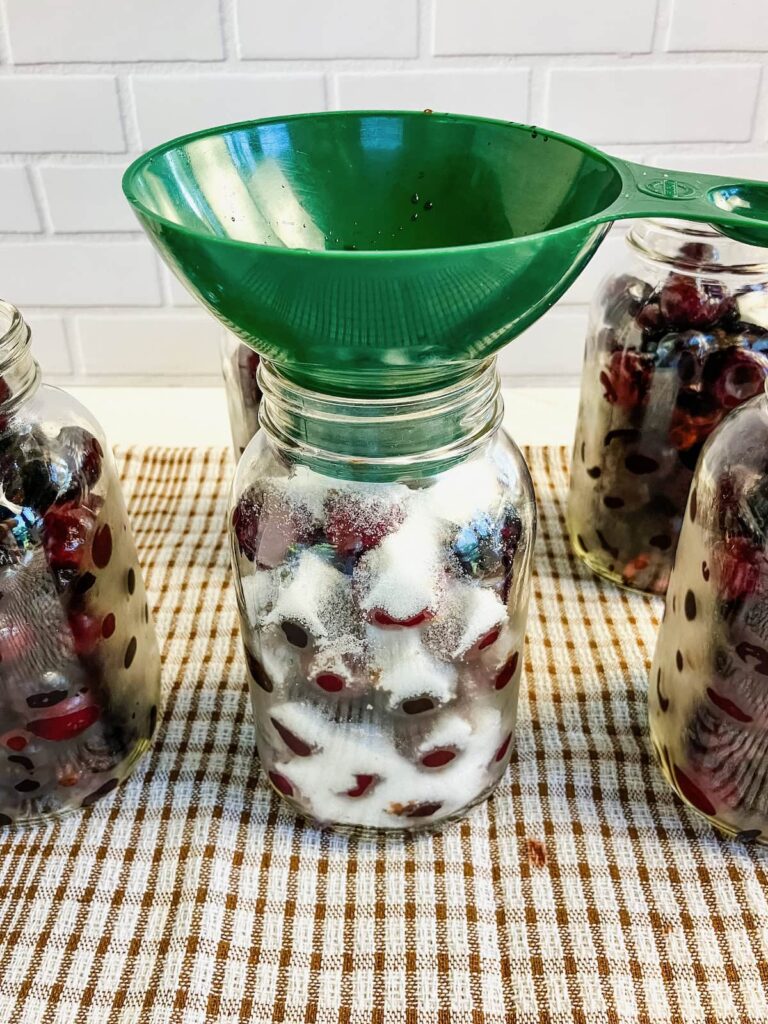
You can make a sugar syrup up to add to your jars but I prefer to make the syrup right in the jar. So I add 1/4 cup of white sugar to each quart jar, or 2 tablespoons to each pint jar.
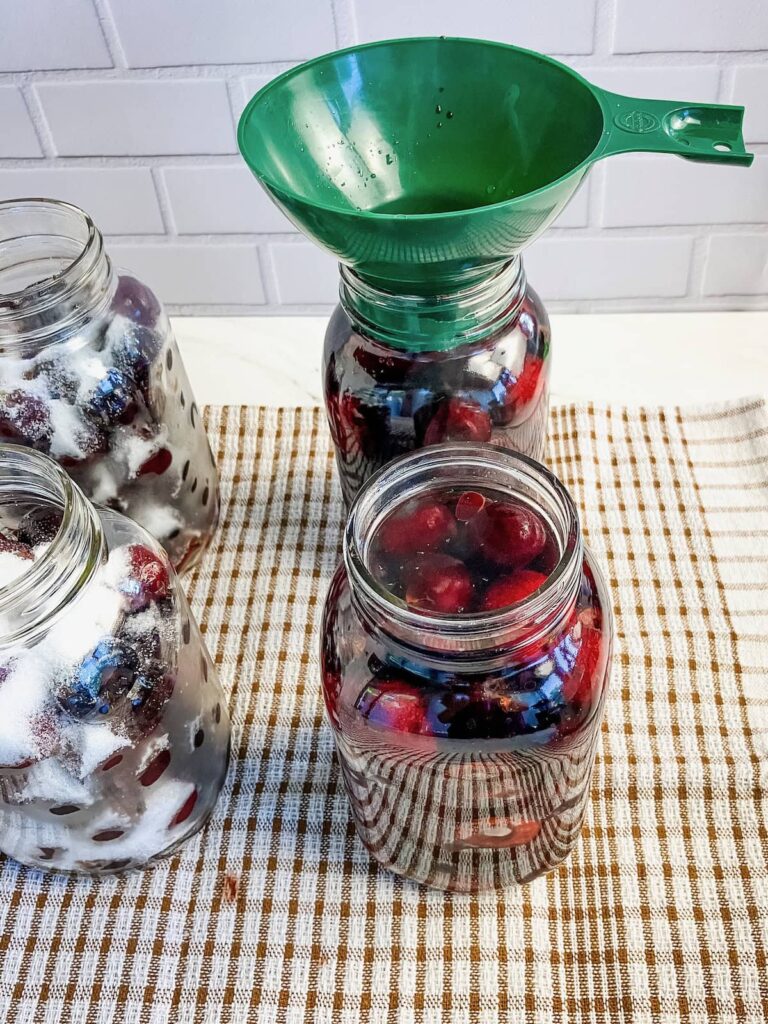
Then fill it with hot water leaving 1/2 inch of headspace.
Remove any air bubbles from the jar, wipe the rims clean with a kitchen towel and add the lids tightening them finger tight.
Canning Cherries
Place the jars into your hot water bath canner and bring it to a boil. Process raw packed pints and quarts for 25 minutes for altitudes up to 1,000 feet. Adjust the processing time to your altitude.
When the jars have finished processing turn off the heat and let the canner cool for 10 minutes before removing the jars. This is optional but helps to prevent liquid loss from the jars from siphoning.
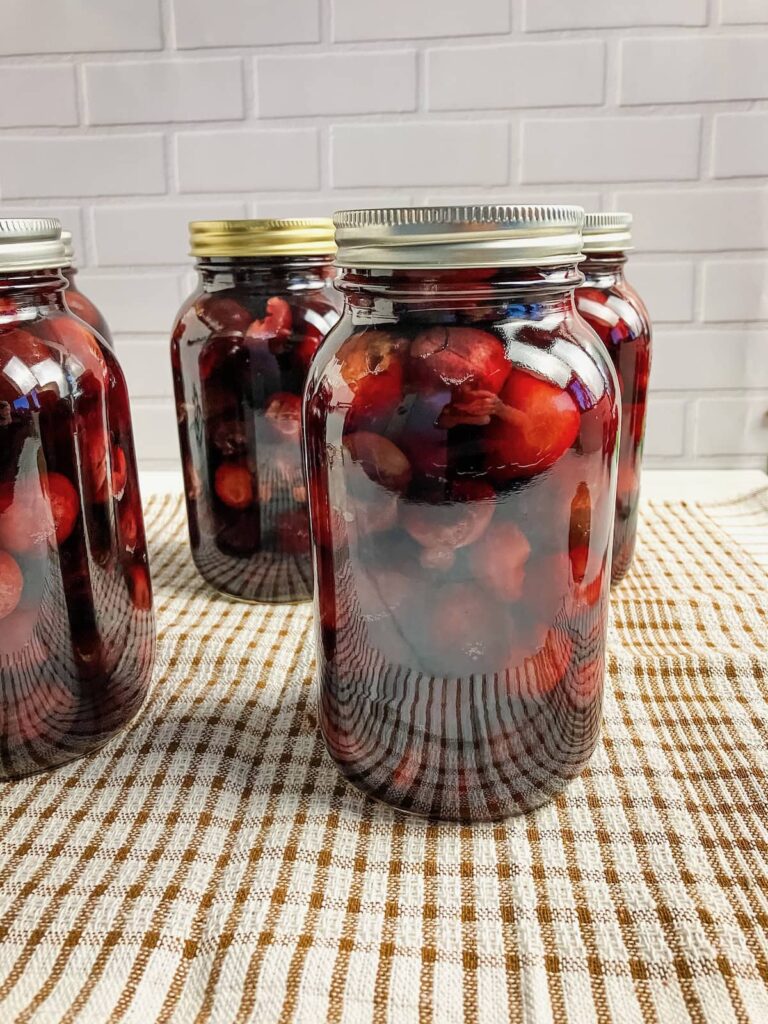
Using your jar lifters remove the hot jars from the canner and place them on to a kitchen towel. Let the jars sit undisterbed for 24 hours, then you can check the seals. Any jars that haven’t sealed will need to be reprocessed with a new lid or refrigerated.
Before storing remove the jar rings and wash the jars in hot soppy water, then dry and label.
Storage
Store canned cherries in a cool, dark place out of direct sunlight. This will help to preserve the best color of the cherries so they don’t fade over time.
Altitude Adjustments For Processing
Raw Pack
0-1,000 feet – pints and quarts 25 minutes.
1,001-3,000 feet – pints and quarts 30 minutes.
3,001-6,000 feet – pints and quarts 35 minutes.
Over 6,000 feet – 40 minutes.
Hot Pack
0-1,000 feet – Pints for 15 minutes, quarts for 20 minutes.
1,001-6,000 feet – Pints for 20 minutes, quarts for 25 minutes.
Over 6,000 feet – Pints for 25 minutes, quarts for 35 minutes.
FAQ
Do You Have To Pit Cherries?
No, pitting the cherries is optional. I prefer to pit cherries before canning so I don’t have to worry about doing it later, it’s messy!
How Long Do Canned Cherries Last?
When canned properly canned cherries will keep for 1 year or longer with the right storage conditions. As long as the jar is properly sealed and stored in a cool, dark place they can last for years.
How To Use Canned Cherries
Having home canned cherries on hand is so helpful. You can use them:
Over Ice Cream – Both the cherries and syrup are delicious served over top of vanilla ice cream or a homemade ice cream Sunday.
Cherry Pie Filling – Cherries canned in syrup can easily be turned into a homemade cherry pie filling. Simply drain the syrup into a bowl and add some cornstarch or your favorite thickener to it and stir to combine. Add any extra flavourings and pour it into a pie shell along with the cherries.
Baking – Of course you can drain the cherries and use them in place of fresh cherries in any of your favorite quick breads, muffins or other recipes. Make sure to save the syrup to flavor drinks with or thicken and enjoy over pancakes.
How To Can Cherries
Ingredients
- 17 1/2 pounds of cherries
- 1 3/4 cups sugar optional
- Water
Instructions
- Soak cherries in cool water with a little vinegar (optional) for 15 minutes. Then sort removing any mushy or damaged fruit.
- Remove the stems and rinse the cherries.
- Remove the pits using a cherry pitter and let the cherries soak in a solution of lemon juice or asorbic acid to prevent them from discolouring.
- Drain the cherries and fill your jars leaving 1/2 inch of headspace. Tap the jars gently to help the cherries settle.
- Add sugar to each jar (optional) to make a syrup in the jar then fill with boiling water. Alternatively fill the jars with boiling water, fruit juice, or a sugar syrup made separately.
- Remove air bubbles from the jars, then wipe the rims clean with a damp kitchen towel or paper towel.
- Place the lids and rings on finger tight and place into your hot water bath canner.
- Process jars for 25 minutes adjusting the time to your altitude.
- After processing remove the jars from the canner and let sit on a kitchen towel undisturbed for 24 hours. Then check the seals any jars that haven’t sealed will need to be refrigerated or reprocessed with a new lid.
- Remove the rings and wash the jars in hot soapy water, dry and label before storing.
Notes
- Very Light Syrup – 1 1/4 cups sugar to 10 1/2 cups water.
- Light Syrup – 2 1/4 cups sugar to 9 cups water.
- Medium Syrup – 3 3/4 cups sugar to 8 1/4 cups water.
- Heavy Syrup – 5 1/4 cups sugar to 7 3/4 cups water.
- 0-1,000 feet – pints and quarts 25 minutes.
- 1,001-3,000 feet – pints and quarts 30 minutes.
- 3,001-6,000 feet – pints and quarts 35 minutes.
- Over 6,000 feet – 40 minutes.
- 0-1,000 feet – Pints for 15 minutes, quarts for 20 minutes.
- 1,001-6,000 feet – Pints for 20 minutes, quarts for 25 minutes.
- Over 6,000 feet – Pints for 25 minutes, quarts for 35 minutes.
These values are from a nutritional database and automatically calculated, and should only be used as an approximation.
Connect With Homestead Acres!
Be sure to follow me on social media, so you never miss a post!
Facebook | Twitter | Pinterest | Instagram
Visit my Amazon store to find all my favorite gardening, homesteading tools, and gadgets plus all of my printed garden books and journals!

Kim Mills is a homeschooling mom of 6 and lives on an urban homestead in Ontario, Canada. Blogging at Homestead Acres she enjoys sharing tips to help you save money, grow and preserve your own food.