Apple Pie Pops
This post may contain affiliate links, my full disclosure can be read here. As an Amazon Associate I earn from qualifying purchases.


Looking for a fun apple treat idea? You’ll love these apple pie pops, they are such a fun twist on a traditional apple pie. Flaky, golden crusts filled with sweet apple pie filling and baked on a stick for easy snacking.

They are simple to make with pre-made pie crusts and use just a handful of ingredients. Perfect for parties or just a cozy fall treat. Both kids and adults will love these cute handheld mini pies, it’s really the perfect easy dessert idea.
Ingredient Notes

Make sure to check the recipe card for a full list of ingredients and measurements.
- Pie Crust – Using store-bought refrigerated pie crusts keeps this recipe quick and easy to prepare. But you certainly can use your favorite homemade pie crust, too.
- Apple Pie Filling – Canned apple pie filling makes this recipe super easy. You can use store-bought pie filling or, of course, your own homemade canned apple pie filling, too. Cut the apples into small chunks so they fit inside of the pie pops without breaking the pie crust.
- Powdered Sugar – Is used to make a quick glaze that adds sweetness and a bakery-style finish.
- Milk – Combines with the powdered sugar to create a smooth glaze. You can use cream if you want to make a richer drizzle, or water if you want a lighter dairy-free option.
How To Make Apple Pie Pops
Step 1. Prepare The Pie Crust

Preheat the oven to 375 degrees. Line a large baking sheet or two small ones with parchment paper and set them aside.
Unroll your pie crust sheets on a flat surface and use the mason jar lid to cut out circles. If you want to make all 12, you can roll out the extra dough otherwise, it will make 9 pies.
Step 2. Fill The Pies

Arrange half the pie crust circles on the prepared baking sheet.
Then add a spoonful of pie filling to the center of each pie crust circle.

Step 3. Add The Stick And Top Crust
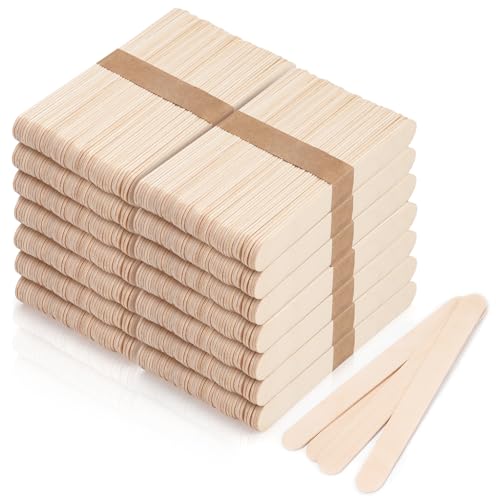
Next, lay a party pick or a popsicle stick in the center. A sucker stick will work, too. Any food-safe and oven-safe stick can be used.
BLUE TOP 4.7 in 200PCS Wooden Ball Food Cocktail Picks Food Skewers Bamboo Picks for Charcuterie, Appetizers, & Cocktail Picks For Parties 1200 Pieces Large Wooden Wax Sticks, 6-Inch Wood Waxing Sticks Wax Spatulas Applicator, Wood Craft Sticks for Body Hair Removal, Tongue Depressors, Popsicle SticksDelling Large Serving Platter, 16/14/12 Inch Rectangular Serving Trays for Serving Food, Serving Tray for Party – Set of 3, White


Place another pie crust circle over the top and gently press around the edges with a fork to seal the circles together.
Step 4. Egg Wash (Optional)
If you want the finished pies to be shiny, make a simple egg wash using 1 egg white and water. Then brush it over the top of the little pies, making sure to coat the edges. This is an optional step, but it will also help the crusts to stick together.
Step 5. Bake
Transfer the baking sheet to the oven and bake for 20-22 minutes, or until golden brown.
Step 6. Add Icing

To make the icing glaze, stir the powdered sugar and milk together in a small bowl.

Then drizzle the glaze over the pie pops.

Storage Tips
To store leftover pie pops, layer them in an airtight container, separating each layer with parchment paper. They can be stored for 2 days at room temperature or 4 days in the refrigerator.
For longer storage, don’t add icing. Wrap them individually in plastic wrap, and then place them into freezer bags or airtight containers and freeze.
They’ll keep for up to 2 months. To reheat, thaw them in the fridge overnight, then warm in the oven at 350°F for 8-10 minutes. Then add the icing glaze if desired.
Serve Suggestions
- Party Treats: Arrange them in a mason jar or a decorative vase, like a cute bouquet of mini pies. It’s a perfect idea for fall parties or bake sales.
- Holiday Dessert Table: Add them to your Thanksgiving or Christmas Dessert spread as a fun twist on the classic apple pie. Add some fun dips, such as caramel, and toppings so people can customize their own mini pies.
More Apple Recipes:

Apple Pie Pops
Ingredients
- 15 oz box of 2 pre-made pie crusts refrigerator section (or homemade pie crust)
- 1 cup apple pie filling cut into small chunks
- 1 egg white optional
- 1 teaspoon water optional
- 3 tablespoons powdered sugar
- 1 teaspoon milk
Instructions
- Preheat the oven to 375 degrees. Line a large baking sheet with parchment paper and set it aside.
- Unroll the pie crust sheets on a flat surface and use the mason jar lid to cut out circles. If you want to make 9 you will need 1 pie crust, if you want to make 12 you will need both pie crusts.
- Arrange half the pie crust circles on the prepared baking sheet.
- Add a spoonful of pie filling to the center of each pie crust circle, then lay a party pick or popsicle stick in the center.
- Top with another pie crust circle, and gently press around the edges to seal them together.
- To make them shiny and help the pie crust stick together, mix the egg white and water, then brush it over the top of the pie crust, making sure to get the edges.
- Transfer the baking sheet to the oven and bake for 20-22 minutes, or until golden brown.
- Stir the powdered sugar and milk together in a small bowl, then drizzle it over the pie pops.
Notes
Nutrition
These values are from a nutritional database and automatically calculated, and should only be used as an approximation.
Connect With Homestead Acres!
Be sure to follow me on social media, so you never miss a post!
Facebook | Twitter | Pinterest | Instagram
Visit my Amazon store to find all my favorite gardening, homesteading tools, and gadgets plus all of my printed garden books and journals!

Kim Mills is a homeschooling mom of 6 and lives on an urban homestead in Ontario, Canada. Blogging at Homestead Acres she enjoys sharing tips to help you save money, grow and preserve your own food.